FIRESTONE AUTOMOTIVE AFTERMARKET

Installation

Installation

See How It's Done

Installation Basics

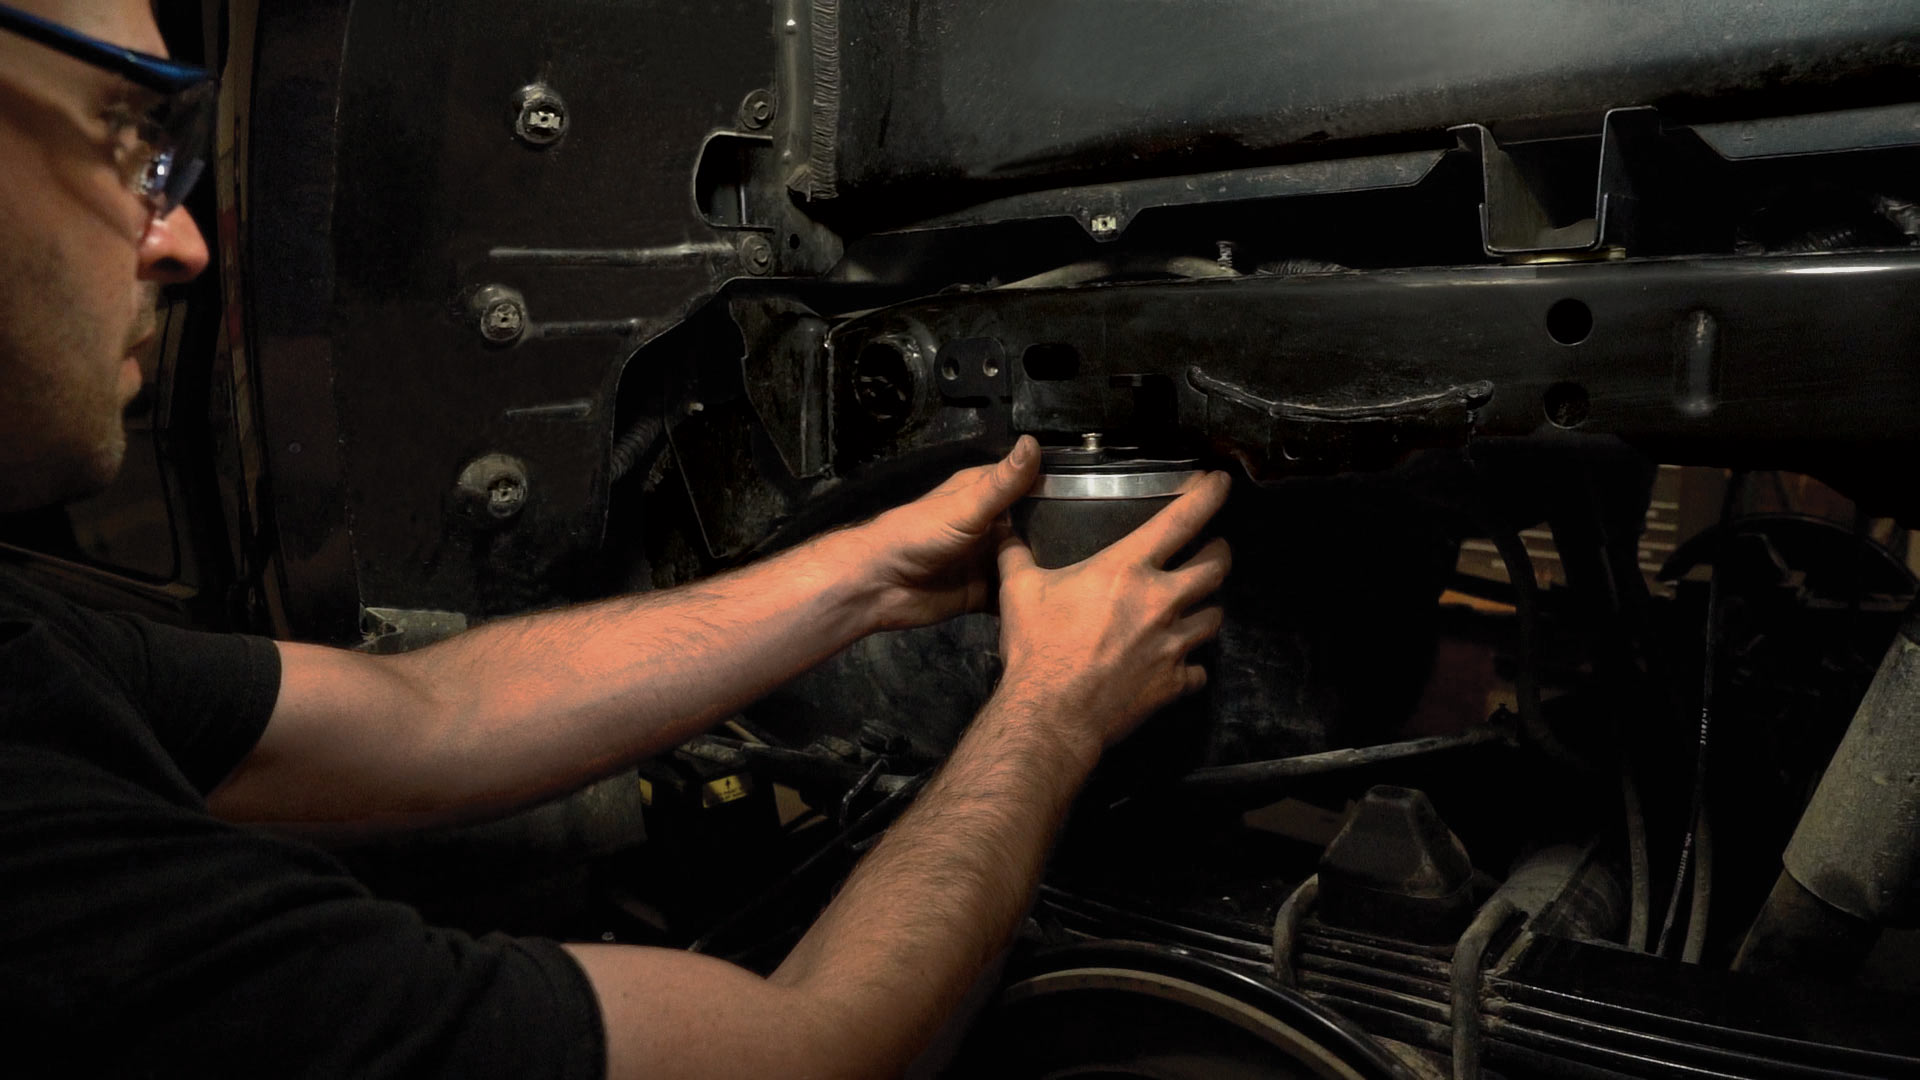
How simple is it to install Firestone Airide air helper spring kids and air compressor kits? Watch this video to find out. Then, check out the install manual for your specific vehicle and view the installation tips below to get to work. 

Key Installation Tips

Air Spring Tips

Air spring alignment is important to the operation of your air spring kit. Upon installation, visually align the air spring. Most kits allow for adjustment of the upper and lower brackets to assist in making the air springs vertical. In most instances, position the upper and lower brackets so that they are parallel.

Remember to maintain proper design height. Refer to the installation manual for kit-specific procedures.

Firestone’s push-to-connect air fittings are extremely easy to use. Once the length of the air line has been selected to span the distance from the air springs to the inflation valves, simply use a sharp knife or tube cutter (9009) to cut the air line as squarely as possible (do NOT use side cutters or other devices that may smash the end of the air line). Then, push the air line into the fitting as far as possible.

Make sure there is at least 6" of clearance between the air spring and the nearest heat source. Kits for vehicles with less than this clearance have a heat shield included. Our kits are designed to work around factory exhaust systems. Aftermarket systems with larger tubes may cause interference or put heat too close to the air spring, which will damage the rubber.

After installing your air spring kit, make sure you have at least 1/2" of clearance around the entire air spring when inflated. A good rule of thumb is to use the thickness of your hand and feel around the entire air spring. If your hand comes in contact with anything on the vehicle, you may have an interference issue. If the object can be moved, relocate it. If the object cannot be moved, contact Firestone for further assistance. No part of the air spring kit (bellows, brackets, hardware) should rub on any lines (fuel, brake, electric) or contact anything but the mounting surfaces designed to support the brackets.

Never run the air spring under the minimum recommended pressure. Never exceed the maximum recommended pressure.

Air Accessory Tips

All compressors are direct drive units (no oil or belts). This means the compressor can be mounted in any position without detriment to the compressor.

In systems using tanks, when connecting the compressor to a positive wire on the vehicle, make sure the wire is ignition activated. This will eliminate the possibility of the compressor running while the vehicle is turned off, draining your battery.

The compressor can be mounted under the hood or on the frame rail behind a cross member. In order to allow enough air flow to the compressor, place the unit in a well-protected area free from debris and large amounts of water.